Max Controlled Angle:
Pan axis: +-270°
Tilt axis: +-360°(adjustable)
Roll axis: +-55°
Net Weight without electronics: 1.98kgs Inner size: width 200mmheight 200mmlength 100-175mm(adjustable)
Model NO.:GBM8017-120T
Weight:318grams
Copper wire thickness: 0.29mm
Configuration: 24N22P
Pre-wound turns : 120 turns
DC resistance (ohms): 14.7
Motor dimension: 90*13mm
Mounting hole (Top/ bottom ) : 52,33mm
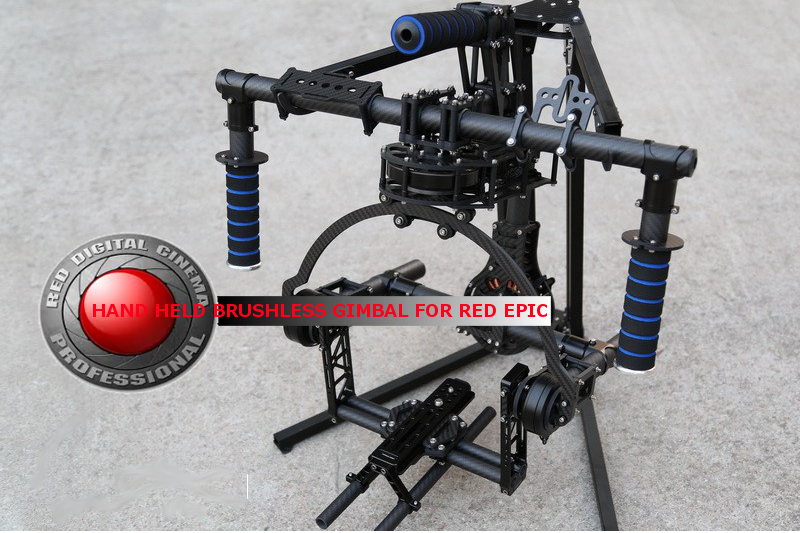
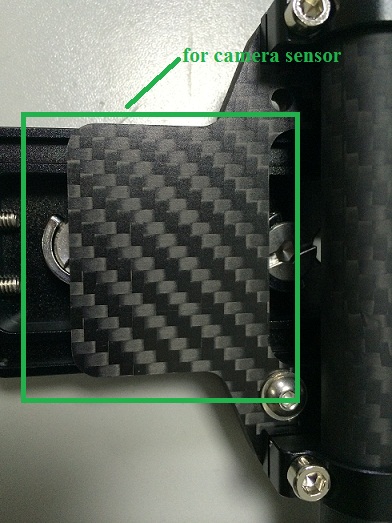
Camera range: Red Epic,Black magic or similar size camera!
Weight:175g
Motor Dimensions:60x24mm
Stator Dimensions:51x8mm
Copper wire(OD):0.18mm
Configuration:24N22P
Resistance:12.6 ohms
Wind type and termination method:Star style
Pre-wounded with 120 turns,5.0mm shaft
Flexible Mounting Holes: Bottom mounting holes: (3 holes) 32mm center to center,(4 holes)25mm center to center
Top mounting holes: (2 holes)12mm center to center,(3 holes)17mm center to center
Camera range: 800-2000g

2.42b6
GUI (Windows, OS X, Linux): SimpleBGC_GUI_2_42b6.zip (5Mb 16.08.2014)
User Manual (English): SimpleBGC_32bit_manual_2_42_eng.pdf (764Kb 16.08.2014)
- 4xPWM servo output with adjustable rate to output virtual channels decoded from RC input, or driven by Serial API
- PID auto-tuning
- Adaptive PID gains
- Digital filters to remove resonances: 3 x Notch filters, 2nd-order low-pass filter
- Bug fixed: upside-down settings lost after switching to different profile
- "Frame upside-down" command now inverts RC control for YAW, together with inverting YAW motor and rotating second IMU
- Bug fixed: should ignore CMD channel during system init
- MOTORS_ON command resets system to home position
- New option for second (frame) IMU: "Below YAW + PID source". It means, if Frame IMU is mounted below YAW motor, it can be used as data source for PID controller, and in some cases can give better result, than main IMU.
- (GUI) UI elements re-arranged to adopt new settings and make groupping more consistent
- (GUI) Separate LPF setting for RC and Follow Mode
- (GUI) New setting "RC Inverse" (you can use it or switch Min. and Max. angles, as before)
- Last used profile is saved as default when switched by service button, RC CMD command of from GUI.
- Bug fixed: s-bus fast mode was not decoded correctly
2.40b7
Firmware: SimpleBGC_2_40b7.enc.hex (85Kb 7.03.2014)
GUI (Windows, OS X, Linux): SimpleBGC_GUI_2_40b7.zip (5Mb 7.03.2014)
- Bugfixes:
- Serial API, CMD_CONTROL.SPEED_MODE did not worked
- Sum-PPM input (FrSky and may be others 8-channel) was conflicted with PWM inputs from flight controller
- Sometimes YAW axis may go wrong when pitching camera up or down in the Follow mode.
- "Swap RC ROLL<->YAW" menu command did not saved new assignment into EEPROM
- (GUI): When saving Profile 2, 3 to file, actually Profile 1 was saved
- Allow to set RC ANGLE mode (i.e. proportional control) in Follow mode, and for YAW axis.
- Follow SPEED range reduced 2x times to get finer control near low values.
- If motors were turned OFF before ACC and GYRO calibration, they keep their state after calibration finished (otherwise it was problem to make fast 6-axis calibration)
- After executing 'Motors ON' command, reset gimbal to home position
- More stable work with low serial speeds when airlink connection is used (3DR modems, etc). In this case, its recommended to reduce frame rate in the Realtime Data tab to not freese the program.
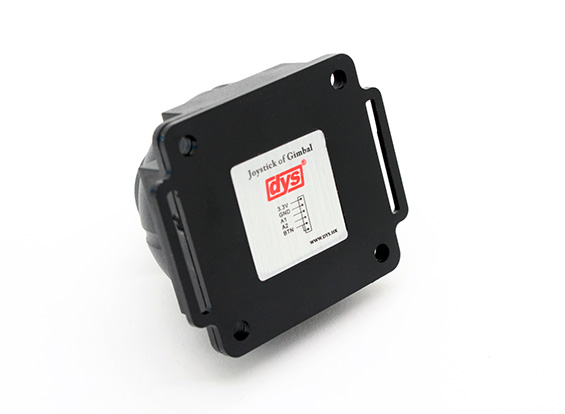
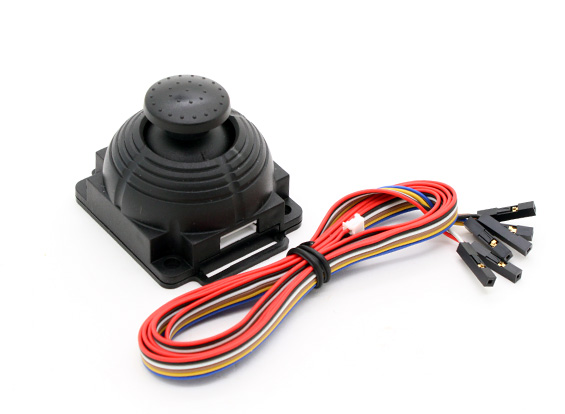
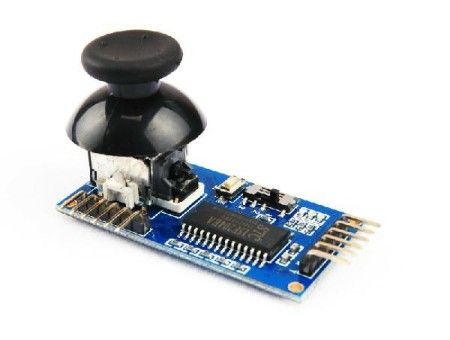
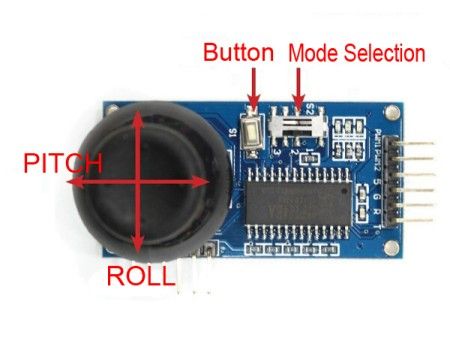
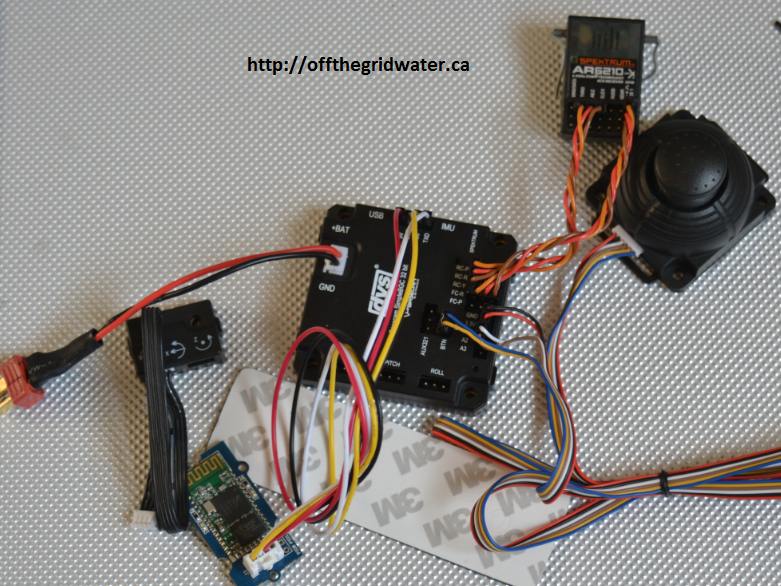
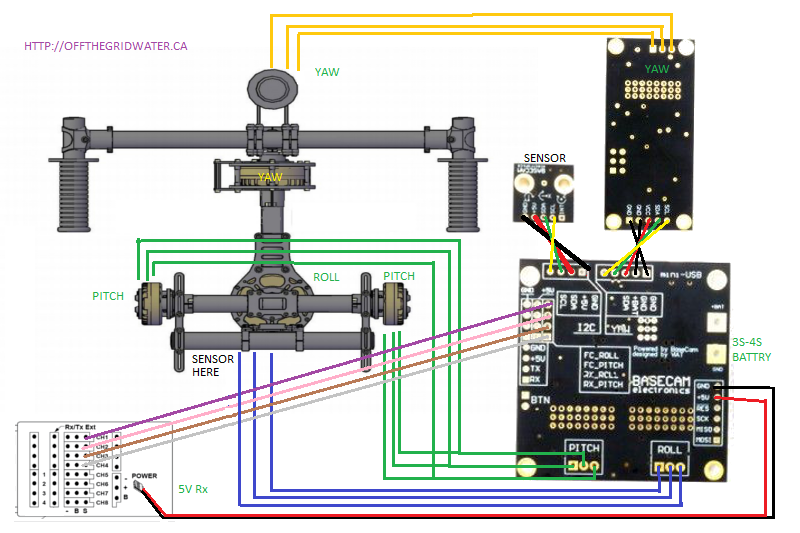
Analog Joystick: PMW1 and PMW2 can be connected with any port from A0~A4. User just needs to set the corresponding interface from firmware.
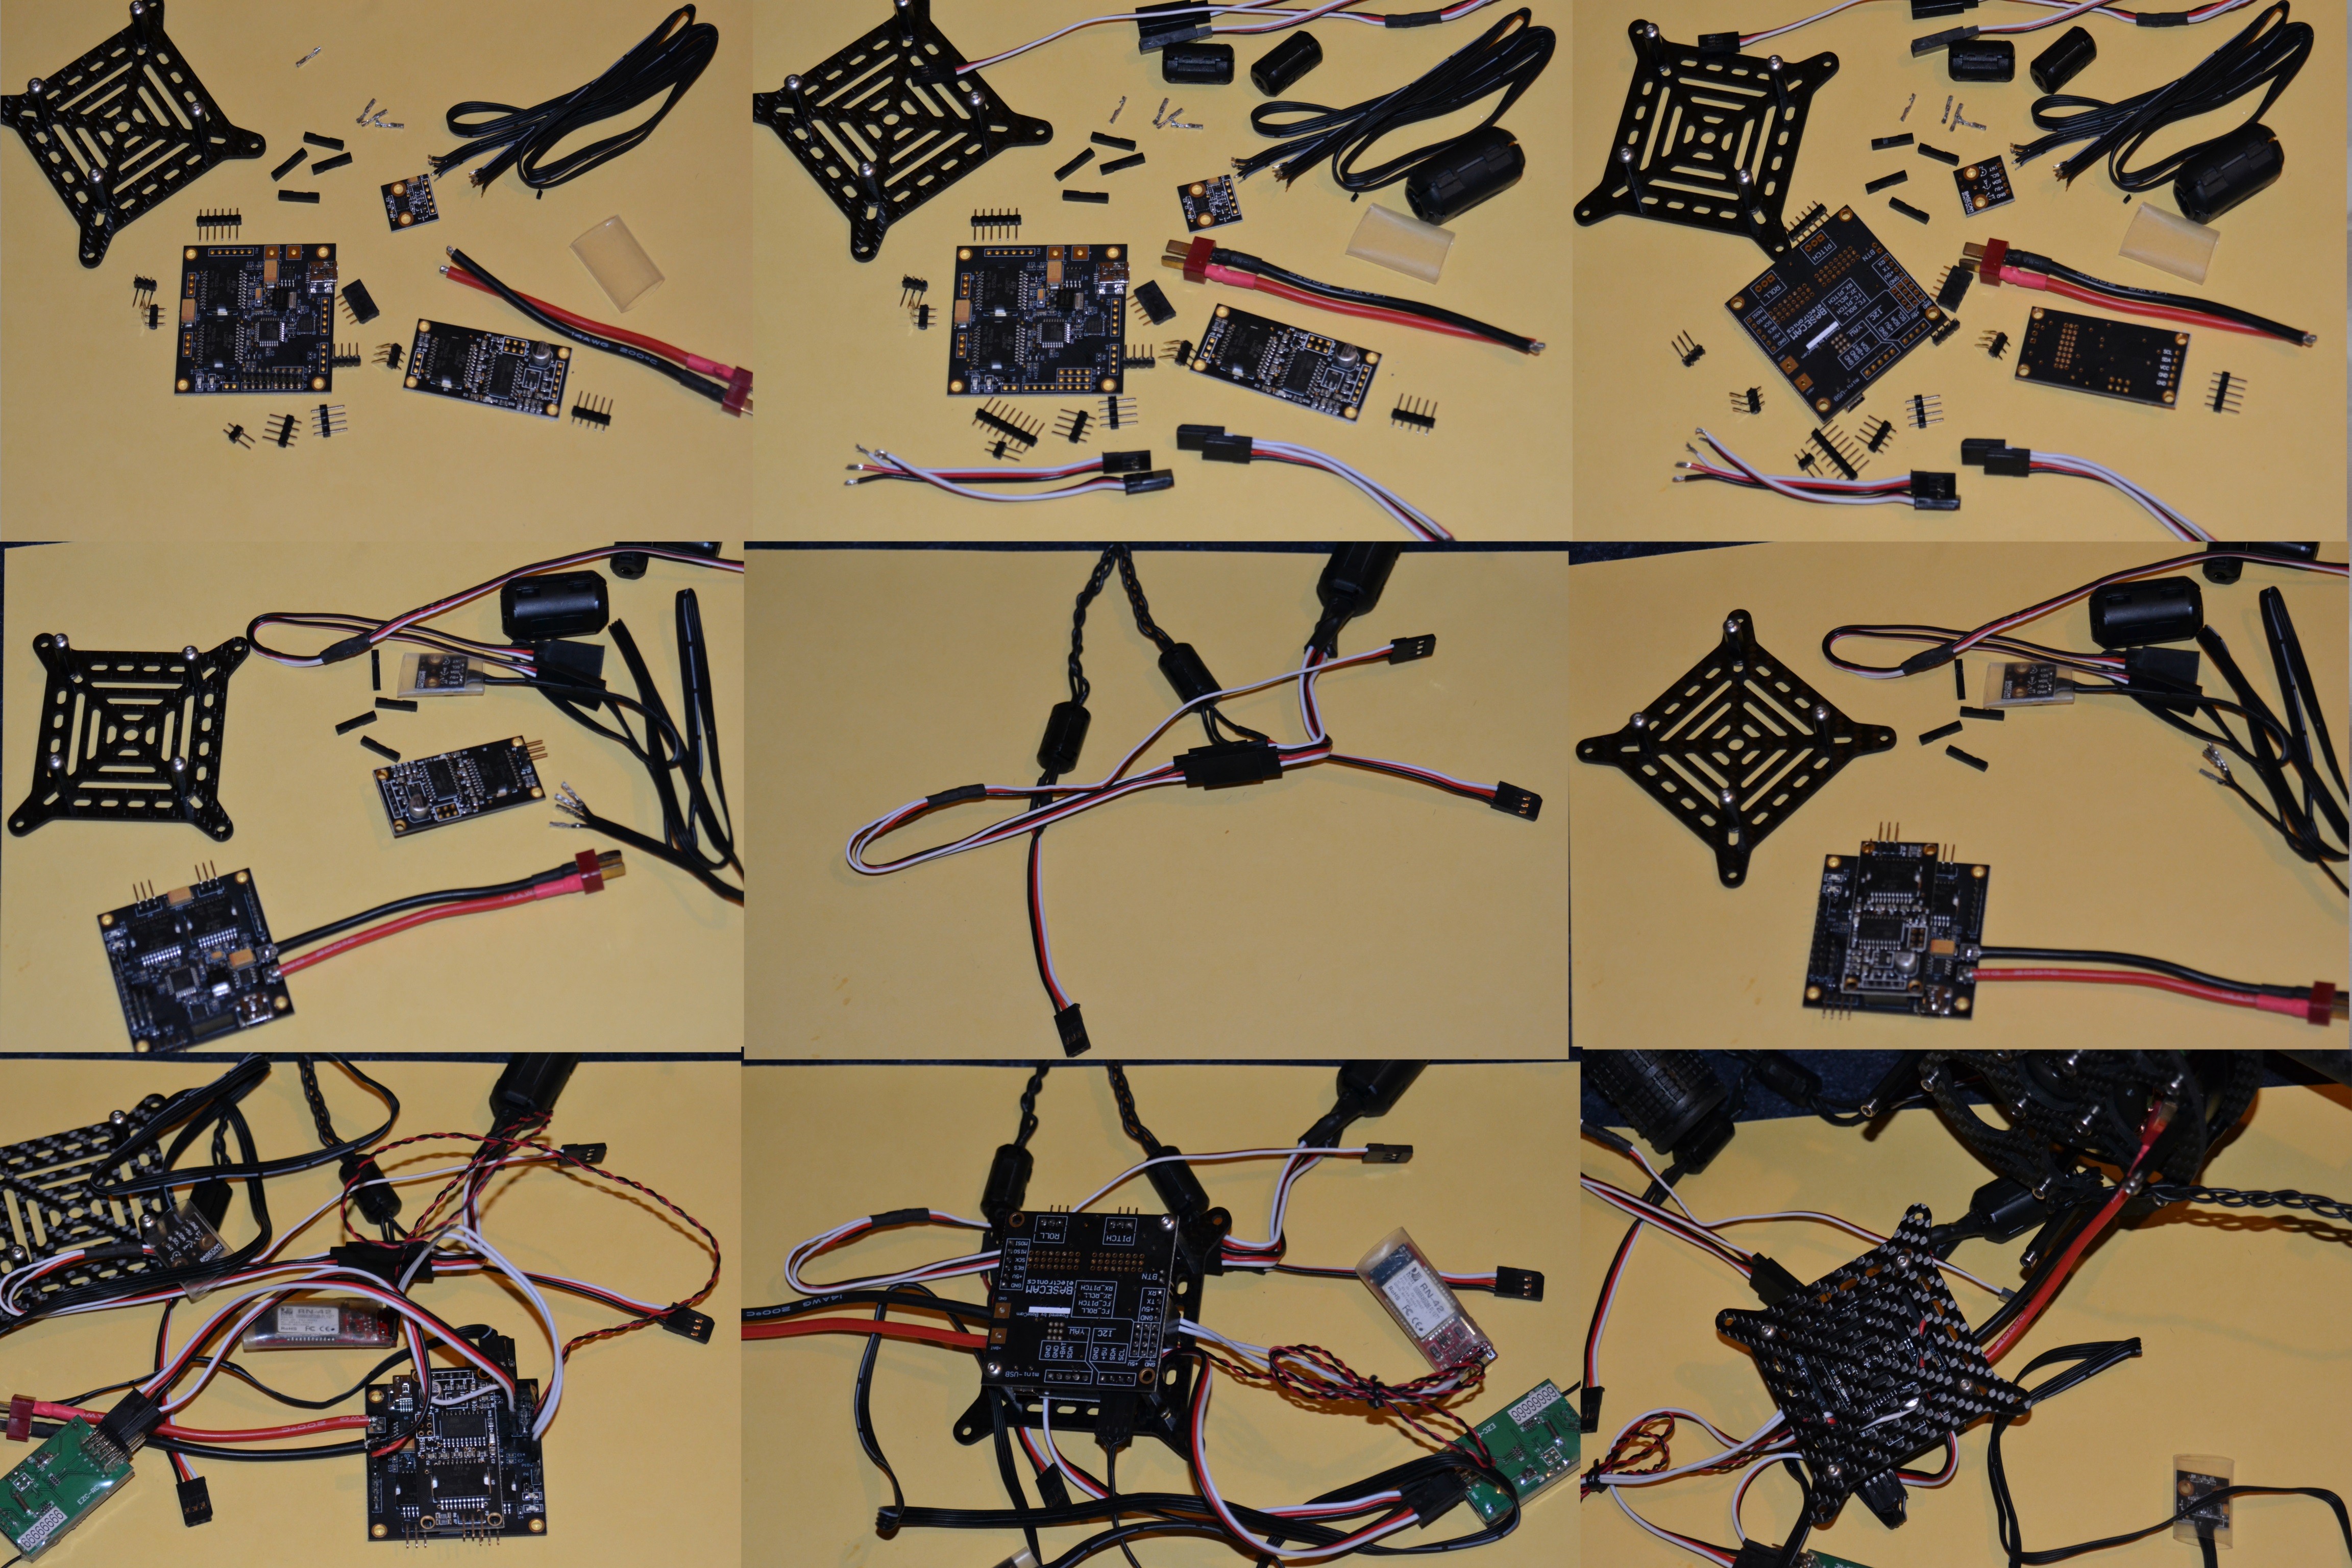
Connect pin define: (main board connected with extension board)
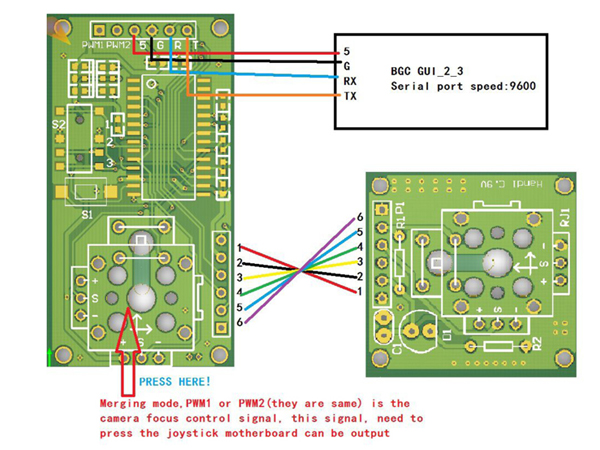
Note:
1. After main board connected with extension board, please connect power again.
2.
After connected with extension board, 3-way switch is not applicable to
control selection. Control gimbal through serial port only. (User needs
to set BUAT rate 9600 through firmware).
3. PMW1 and PMW2 are both
output same signal. Select signal through up-down port of extension
board. Default time 1.5ms high level, adjustable from 1ms~2ms. No output
under normal circumstances unless pressing joystick of main board.
BGC firmware upgrade to 2.3
Upgrade firmware of BGC 2-axis from 2.2 to 2.3. Do nothing with the 3rd axis.
1. Activate SimpleBGC_2_3b5.enc.hex
2. Select FLASH to start installing
3.
Successful installing balloon, connect controller board and set
parameter according to your motor. (The parameter is varied according to
different motors)
4. Connect to remote control, done!
Note:
Before
connecting to controller, turn the 3-way switch to middle. Upgrade
firmware only after connecting to power and blue LED stop flashing.
Recommended operation:
After
adjusting parameter, disconnect power. Connect to controller, and
connect power. After sensor initialization, green LED would stop
flashing and light up, and upgrade.